Cut studio and retouching time in half!
11 August 20
Time is precious. Unfortunately for clients, the more time you spend working on their projects, the more it costs them - you should always try to work in the most efficient way. I constantly try to learn and improve on the techniques I use so that I can fit more into my day and still produce great results.
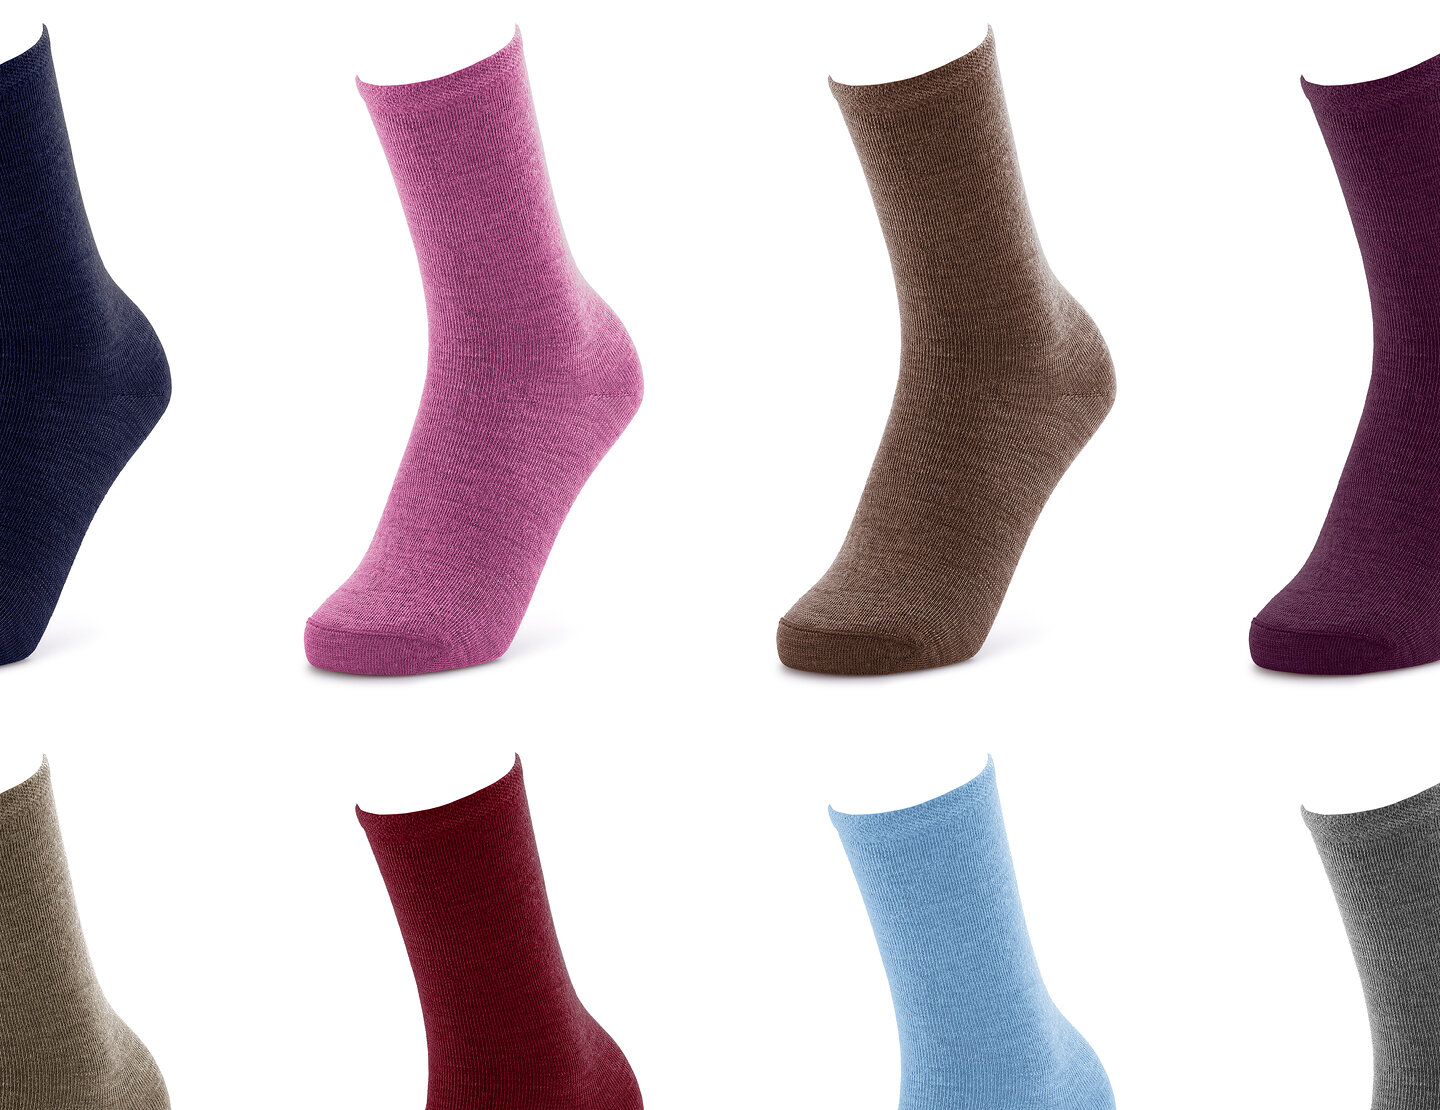
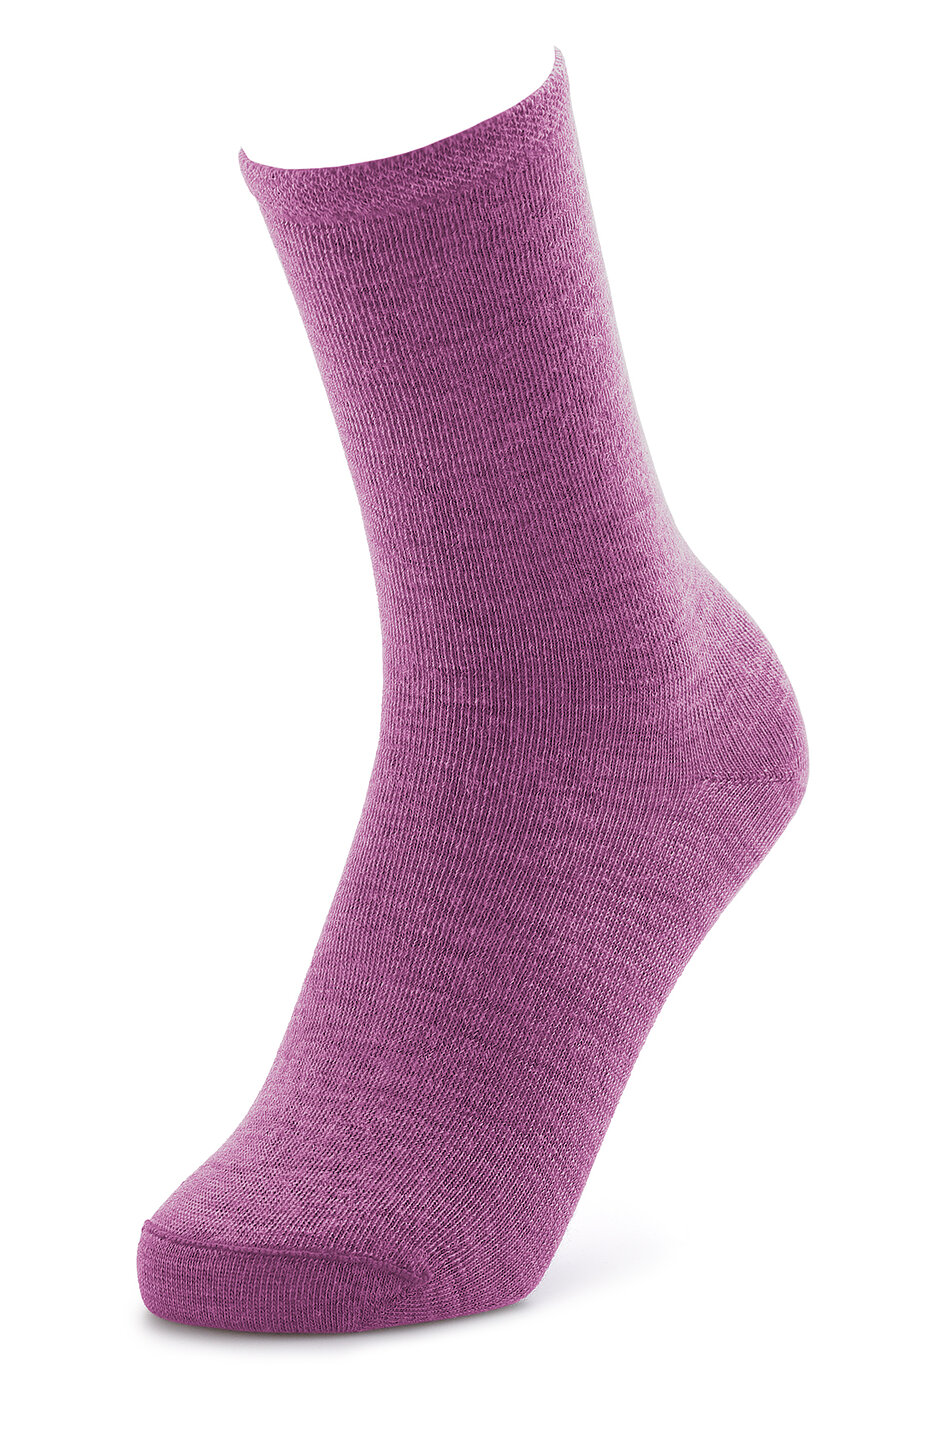
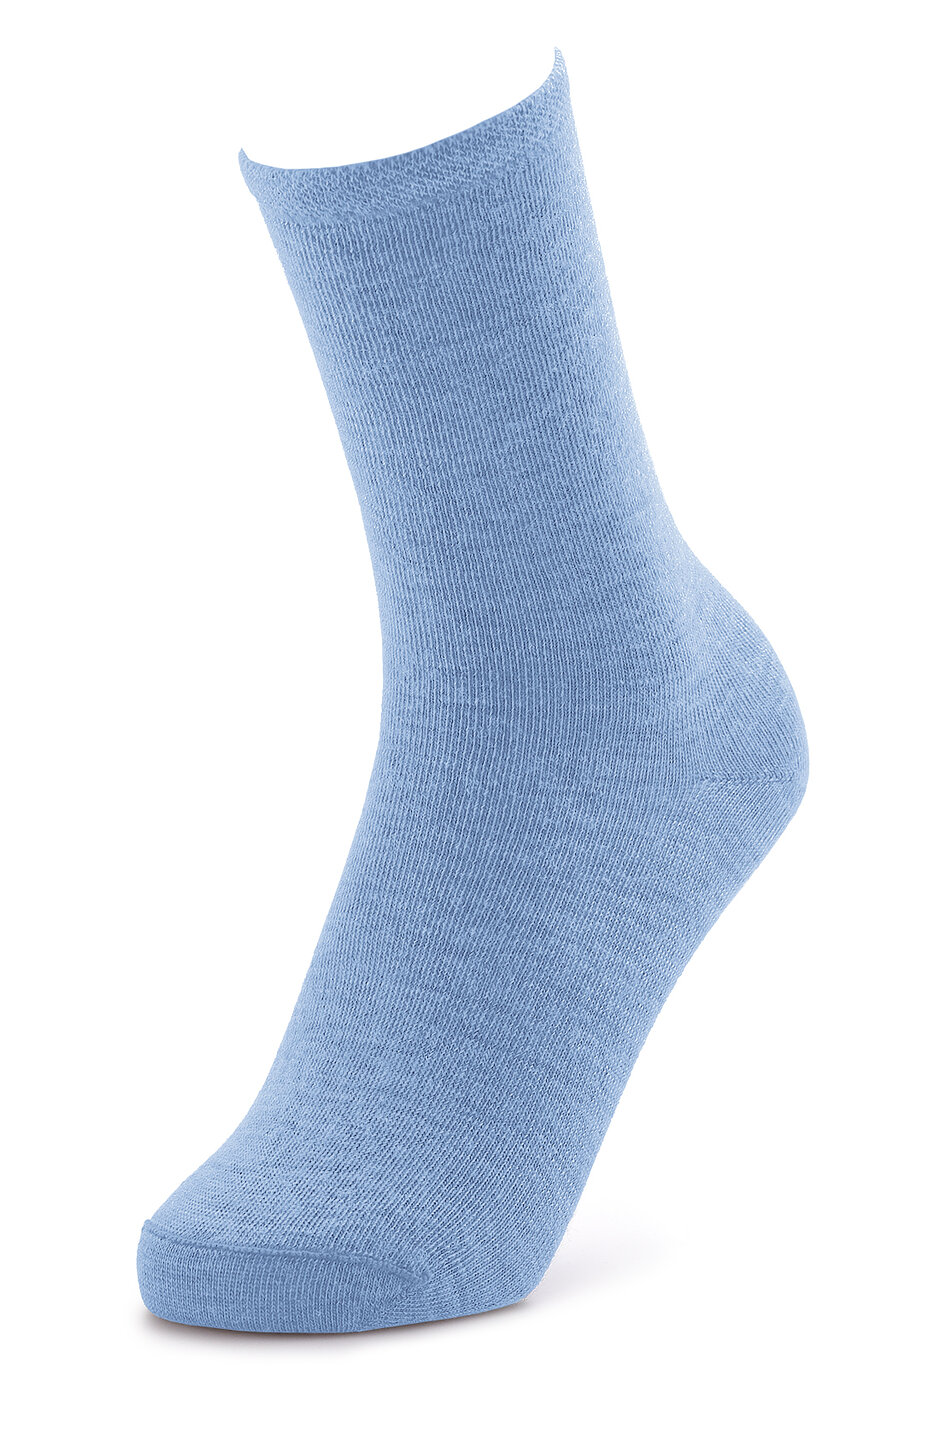
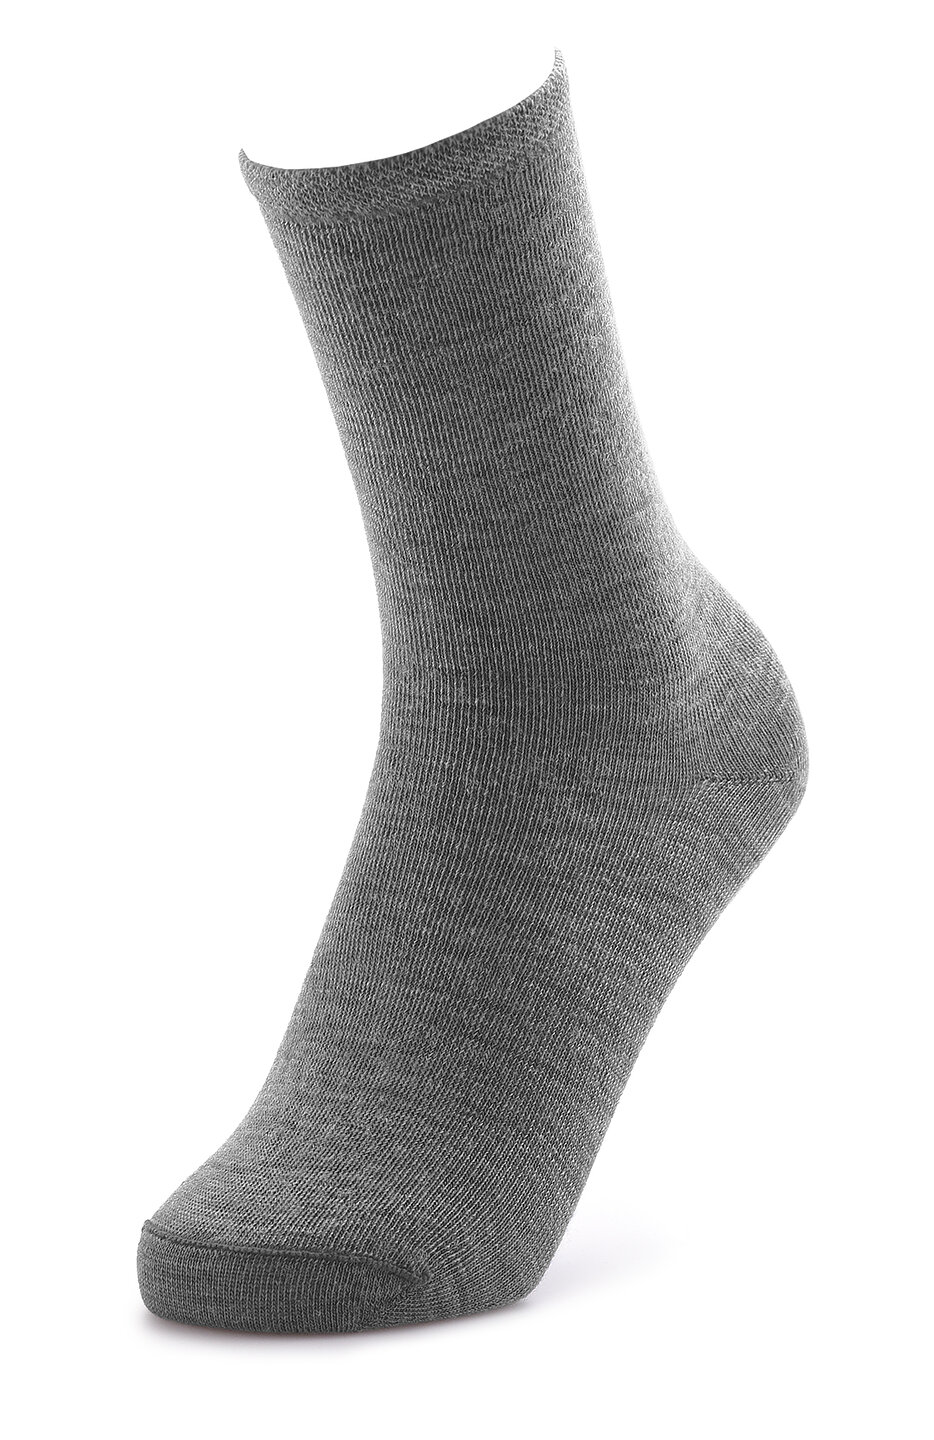
These socks are a prime example of an opportunity to speed things up in the studio. When faced with multiple colours of the same product I always look to shoot just the one colour (if possible). In this case, I chose to shoot the grey version. Once shot, I masked out and tidied the image using a range of Photoshop tools including cloning, spot healing and the Liquify tool (which I absolutely love using) and then re-coloured to the other swatches I had been provided with. Simple.
Now, there are so many ways to do things in Photoshop - but my absolute favourite way to re-colour imagery is using Gradient Map. It's such a clever process and I'm almost always really happy with the results.
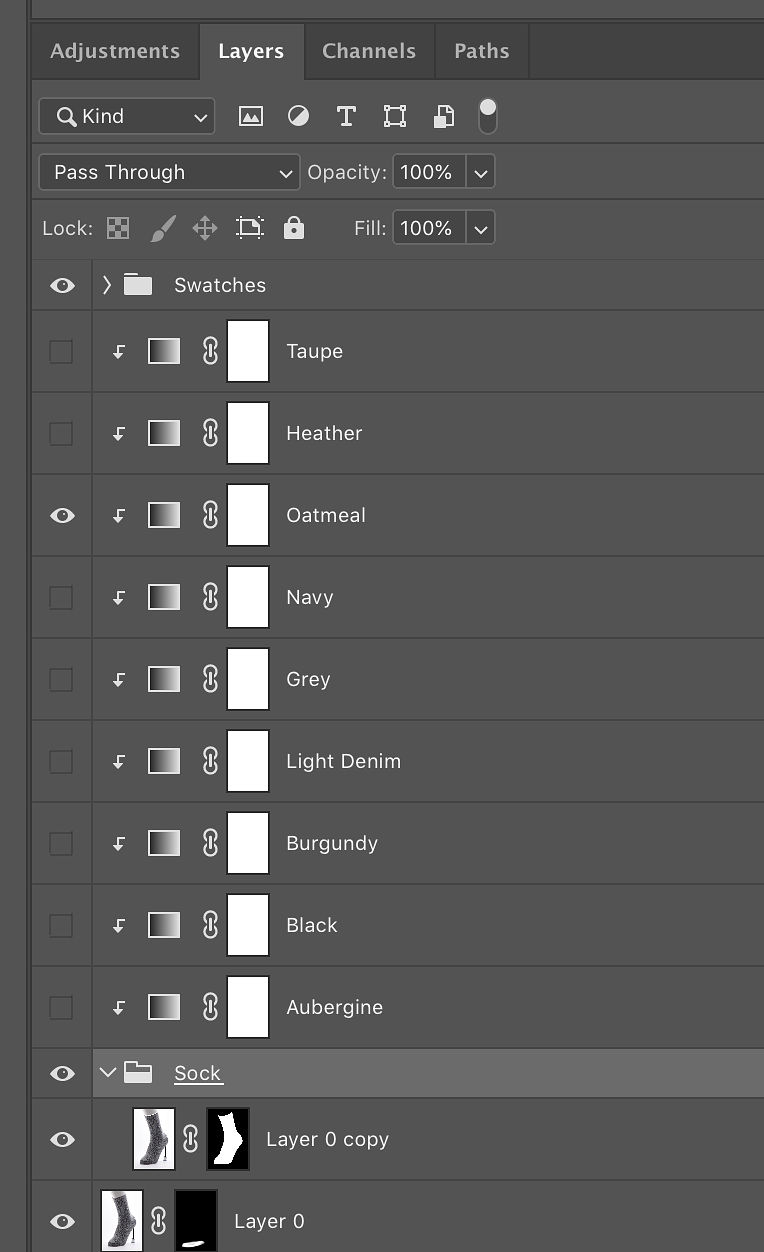
Gradient Mapping is a technique where you initially apply a basic black-to-white gradient across your image or area of colour you wish to adjust. In this case, the sock is all one colour, and it's been masked and clipped to the sock layer so the Gradient Map only changes what's inside the mask as can be seen in the Layer panel above.
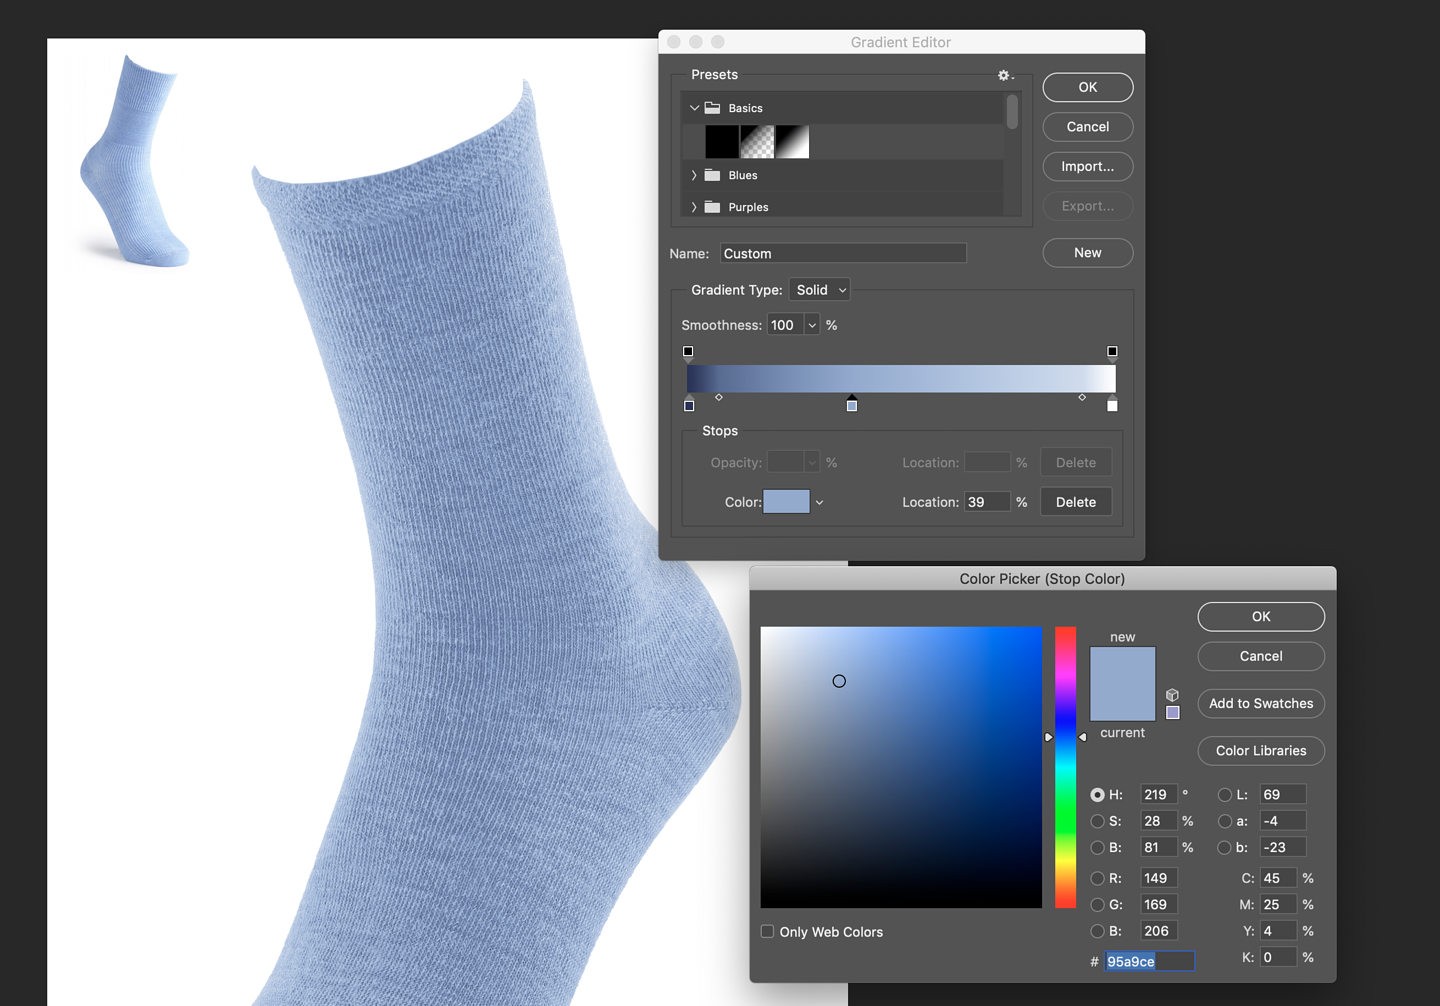
Once you have your basic black-to-white gradient, open the Gradient Editor then add or select a colour to your gradient somewhere in the middle - with the pipette and using a 31x31 Average sample size, pick up the colour from your swatch and it will add the colour to your gradient map.
Now the sock is looking somewhere close to the colour in the swatch - keeping your new colour selected in the gradient, you can actually control the amount of colour in your shadows and highlights by adjusting the tiny sliders just underneath your gradient bar. You can gently introduce the new colour into the darker and lighter areas. For each new colour you need to shoot, just simply add a new Gradient Map Adjustment layer, pick up the new swatch colour and you'll quickly complete the task.
This was a process I picked up from a photographer called Sean Tucker, he has a long history in product photography but is now better known for his Street Photography - which is incredible - definitely worth checking out.
If Gradient Mapping sounds interesting to you - you might actually do this kind of thing in Photoshop, but using different tools like Selective Colour for example. Spend a few minutes of your time to watch this in depth video by Sean Tucker explaining every last detail of how to make this really work for you - it's really worth a watch.
Thanks for stopping by, Will
Comments